Thursday, April 25, 2013

LED Guitar #2 - Fret wire

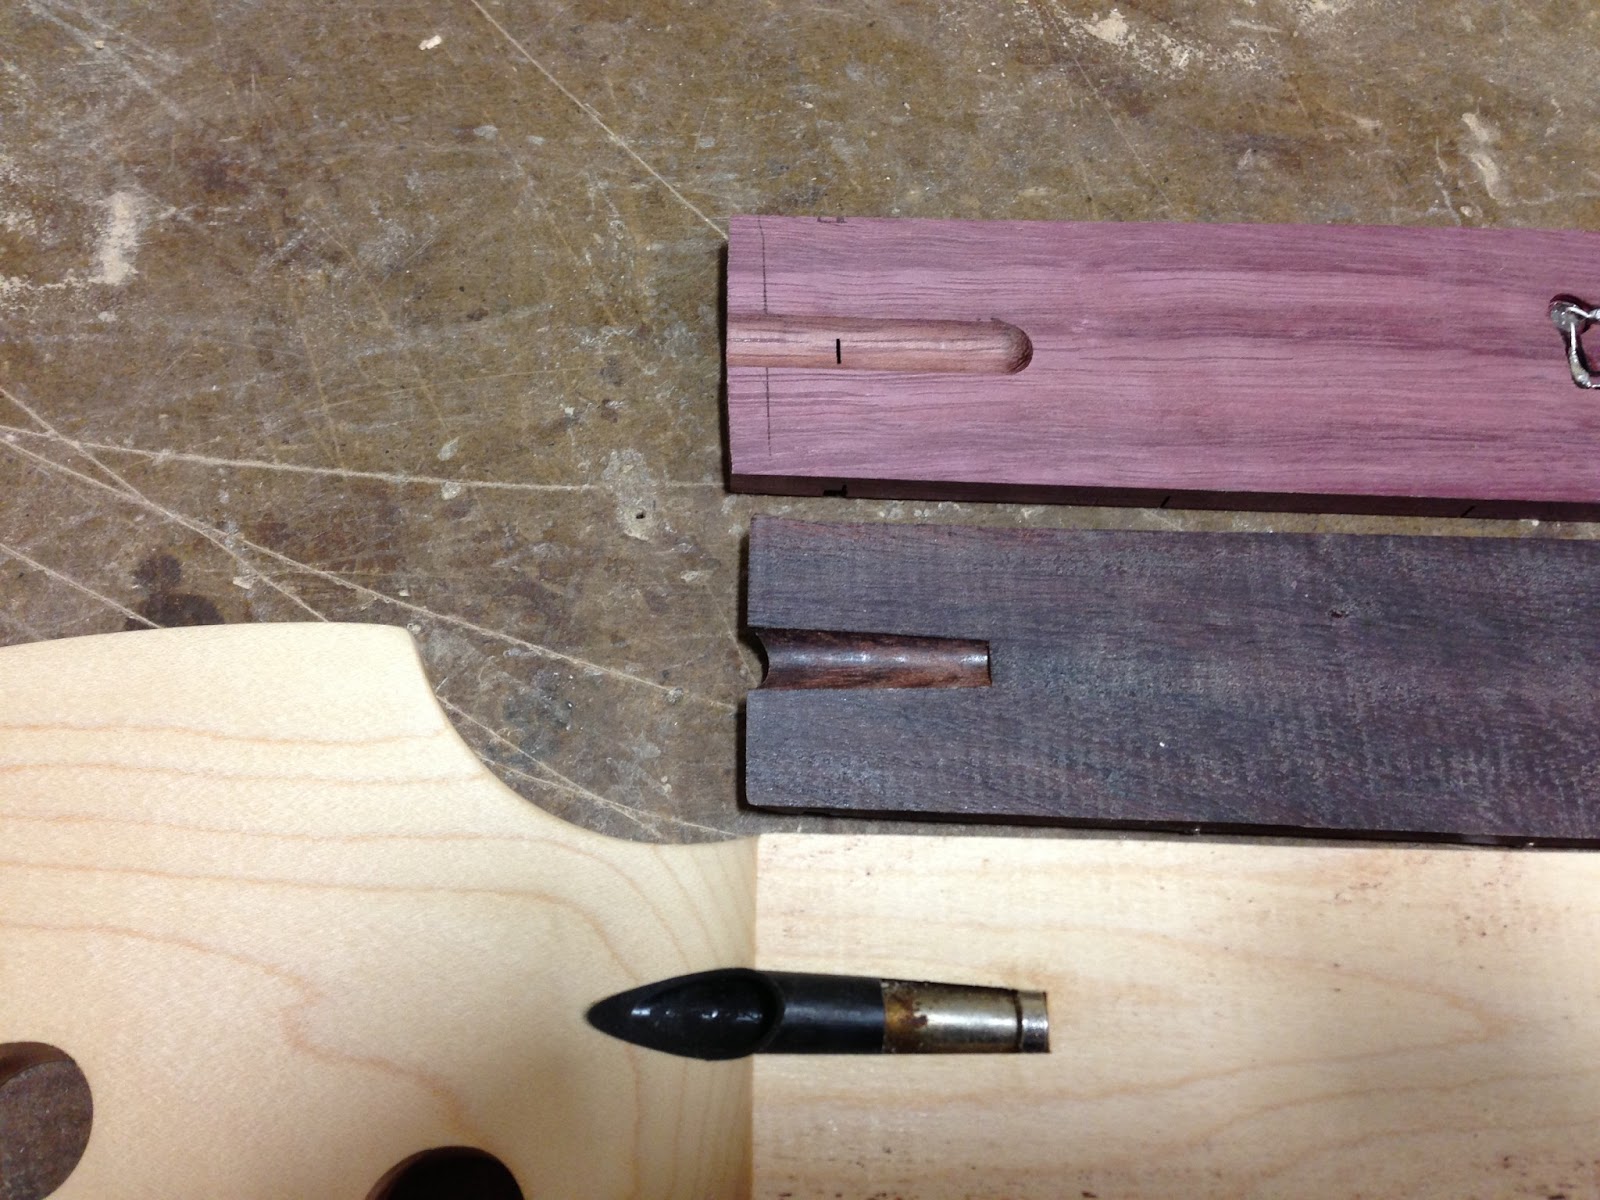
Used some epoxy to fill in the hole where the wires come out.

Looks pretty good. The wires are a very small diameter (26 gauge) but they are stranded, so they are pretty resilient if bent repeatedly.

All of my fret wire supplies. The fret wire comes in a tube like the one in the middle. It is straight. I made my own fret wire radius bending tool (on the top left). I modified some nippers by grinding them flush (to make flush-cut snippers). I also have a plastic dead-blow hammer, which is filled with buckshot so it doesn't bounce when you hammer something.

I used this nail file to pop the copper wires back up out of the slots.

You can see that one of the copper wires broke from being bent too  many times.

A second copper wire also broke off. I was a little worried that it wouldn't make as good a connection with the fret wire when the fret wire gets pounded in, but I tested it once it was done, and it works just fine.

I like to bend my copper wires off to the side  and then pound the wire in over it.

 Before and after pounding the fret wire. Just snip off the copper wire when you are done.


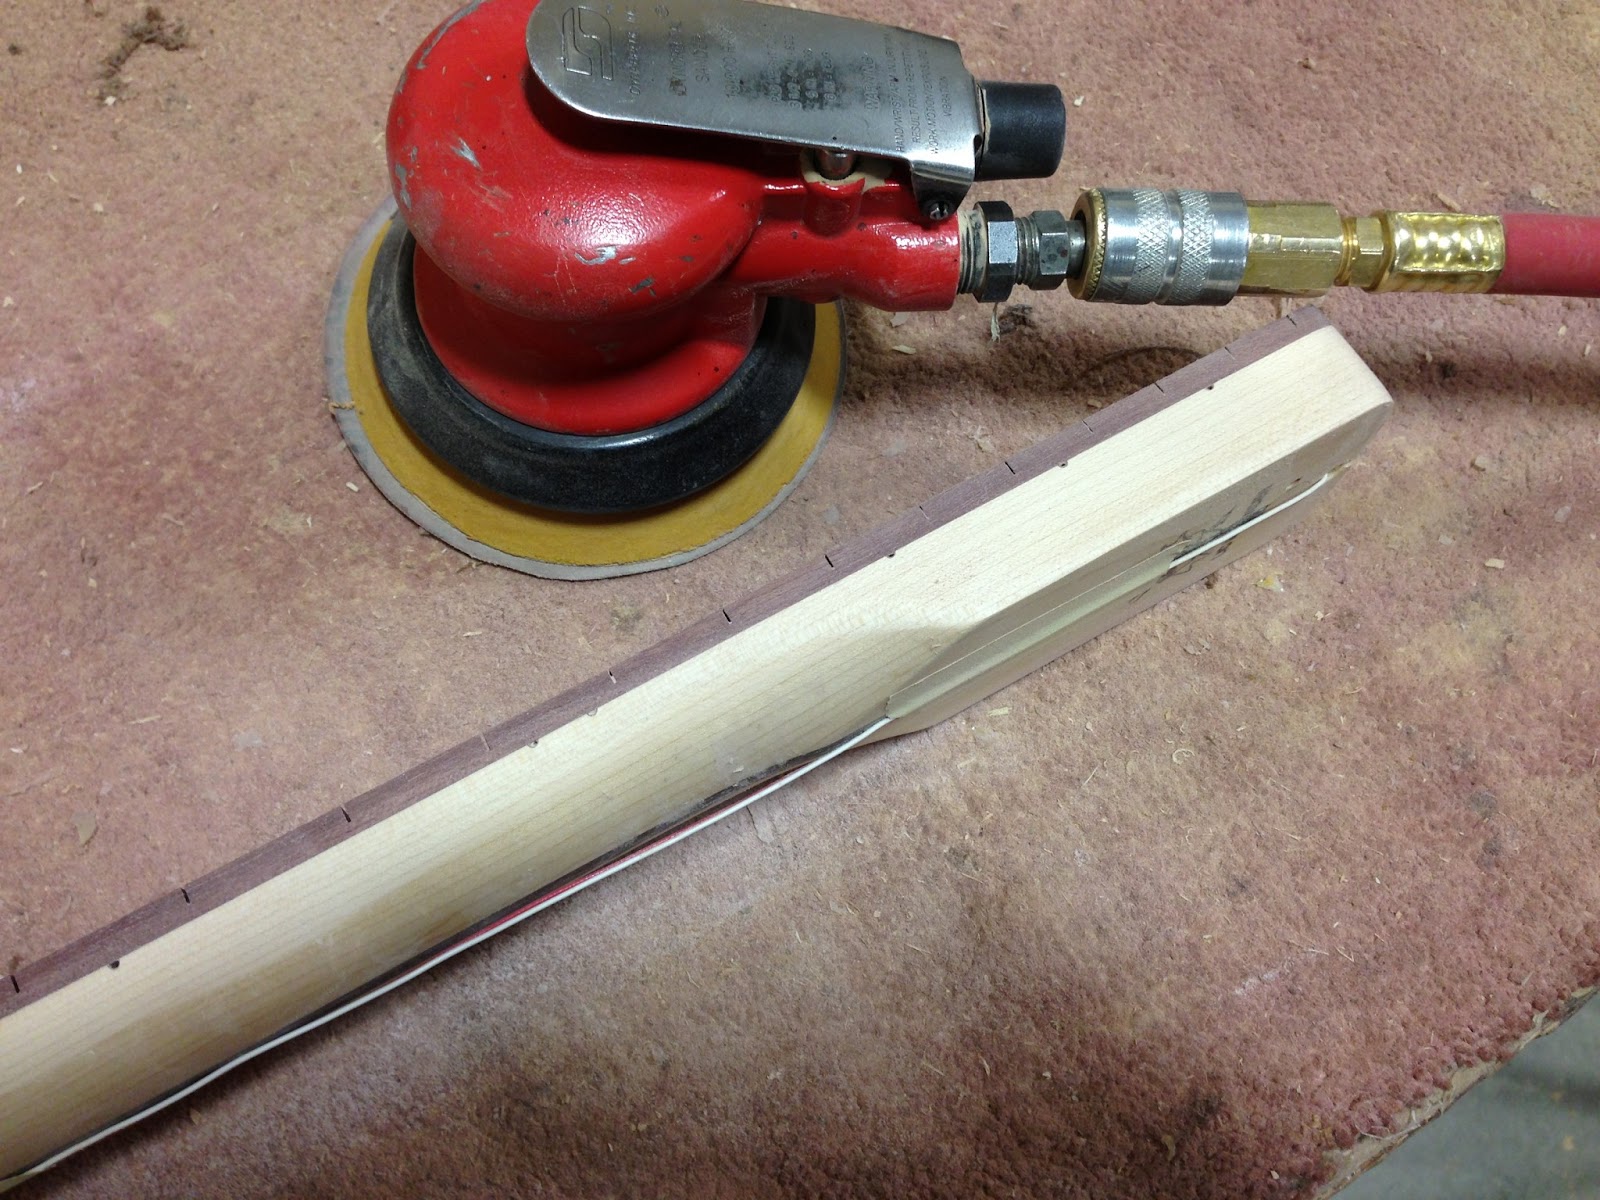
Now it REALLY is starting to look like a guitar neck. I filed and sanded the ends of the fret wire until the corners were nice and rounded. I ran my fingers up and down the fretboard to see if the fret wire snags on my fingers or if it is smooth. I think I got this fretboard smoother than the stock one from the factory! 

Next, I need to level the frets and use fret files to crown and smooth them again. This is usually necessary if you don't want your guitar to "buzz" when you play. Otherwise you have to raise the action of your guitar uncomfortably high to avoid "buzzing" strings on the frets. I would say that most guitars you buy at the store have not leveled and crowned the frets. That's why so many guitarists have guitars with really high action, and it hurts their hands to play. Take your new guitar to a luthier to get the frets leveled and your action adjusted. It will make playing guitar much more enjoyable.


LED Guitar #2 - Gluing and Sanding


 Before I could glue it, I needed to mill a groove. 
This 3/8" round bit fits the old groove on the old fretboard perfectly.

Top: new fretboard
Middle: old fretboard
Bottom: neck with protruding truss rod 

 Dry fit, lights off and on.

Notice the squared-off end of the fretboard near the nut slot.
I will sand that once it's glued and dried.

Drew a pencil mark where the hole should be for the wires. 

Hole is drilled. I also used a counter-sink to round over the hole, but I didn't take a picture. 

Ready to be glued. This is a paint tray and paint roller we use for gluing wood at the shop. 
Very handy way to spread glue if you glue large quantities of wood.

This might seem strange, but I often use cling wrap to glue things together. It keeps the fretboard centered over the neck while clamping. For some things like (small) picture frames, or box newels, you can just use masking tape and cling wrap. No clamps required! I chose to use clamps for this job though, there is a large surface area, and I did not want ANY gaps between the fretboard and neck. Glue joints are the strongest when the wood squeezes out all the excess.


 Turned on the lights to double check before the glue hardens.

After the glue dried, a week later I unwrapped it and it looked like this. You can see that some glue squeezed up through the fret slots. My fret slots and milling slots were deep enough on both sides that they overlap in spots, allowing glue to come up through to the surface.

 Here I trimmed the copper wires a bit shorter. Then I used a hammer and thin ruler to beat them into the fret slot so I can sand and radius the fretboard. This was tricky, and the copper wires are getting fragile from all the bending.

Copper wires are successfully pounded into the slots so they won't get sanded off.

Filed off the top of an LED.

Several LED tops filed off.

It's starting to look like a guitar neck.

See how much the fretboard overlaps the neck? I need to sand all that excess off.
I used a large (not handheld) belt sander + an pneumatic orbital sander.

 Sanded all flush and smooth.

Cleaned off the top a little bit with the orbital sander.

Now you can clearly see the excess fretboard has all been sanded off.

I sanded the square corner a little bit...

And now it is sanded just like the old fretboard.

 This is my fretboard radius sanding block. I made it by using two pieces of 1/8" plywood and gluing them together, then drilling holes and putting screws into the block underneath. The block underneath is actually 3 pieces of wood, with a gap in the middle. This allows the screws to pull the plywood layers down and make them curve into the radius you desire. I lay my guitar neck on top and push it up and down to sand the radius onto the fretboard.

 Progressively sanding the radius. You can see a darker purple in the middle where it is un-sanded, and a lighter color on the edges where it is sanding off.

 This process took quite a while, at least a half hour. My arms got pretty tired from all the sanding.

Here it is with the perfect radius sanded off.