

Before I could glue it, I needed to mill a groove.
This 3/8" round bit fits the old groove on the old fretboard perfectly.
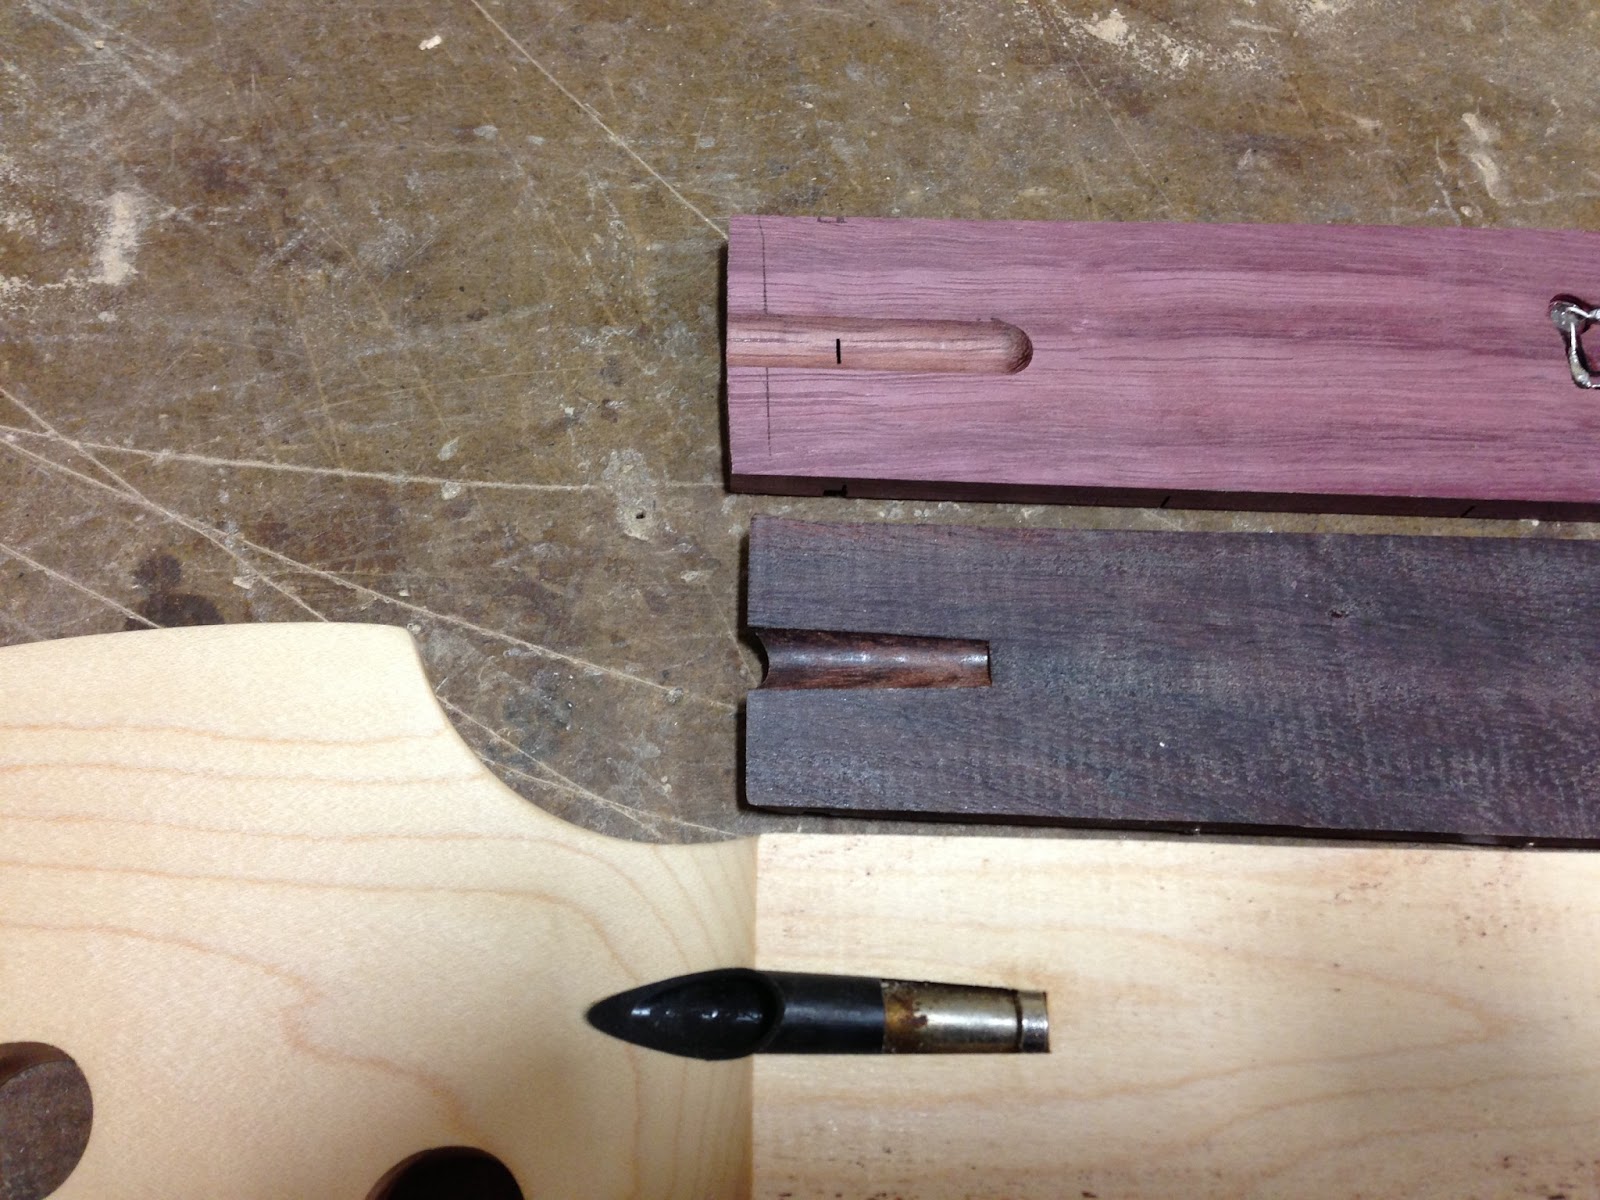
Top: new fretboard
Middle: old fretboard
Bottom: neck with protruding truss rod


Dry fit, lights off and on.

Notice the squared-off end of the fretboard near the nut slot.
I will sand that once it's glued and dried.

Drew a pencil mark where the hole should be for the wires.

Hole is drilled. I also used a counter-sink to round over the hole, but I didn't take a picture.

Ready to be glued. This is a paint tray and paint roller we use for gluing wood at the shop.
Very handy way to spread glue if you glue large quantities of wood.


This might seem strange, but I often use cling wrap to glue things together. It keeps the fretboard centered over the neck while clamping. For some things like (small) picture frames, or box newels, you can just use masking tape and cling wrap. No clamps required! I chose to use clamps for this job though, there is a large surface area, and I did not want ANY gaps between the fretboard and neck. Glue joints are the strongest when the wood squeezes out all the excess.


Turned on the lights to double check before the glue hardens.

After the glue dried, a week later I unwrapped it and it looked like this. You can see that some glue squeezed up through the fret slots. My fret slots and milling slots were deep enough on both sides that they overlap in spots, allowing glue to come up through to the surface.


Copper wires are successfully pounded into the slots so they won't get sanded off.

Filed off the top of an LED.

Several LED tops filed off.

It's starting to look like a guitar neck.

See how much the fretboard overlaps the neck? I need to sand all that excess off.
I used a large (not handheld) belt sander + an pneumatic orbital sander.
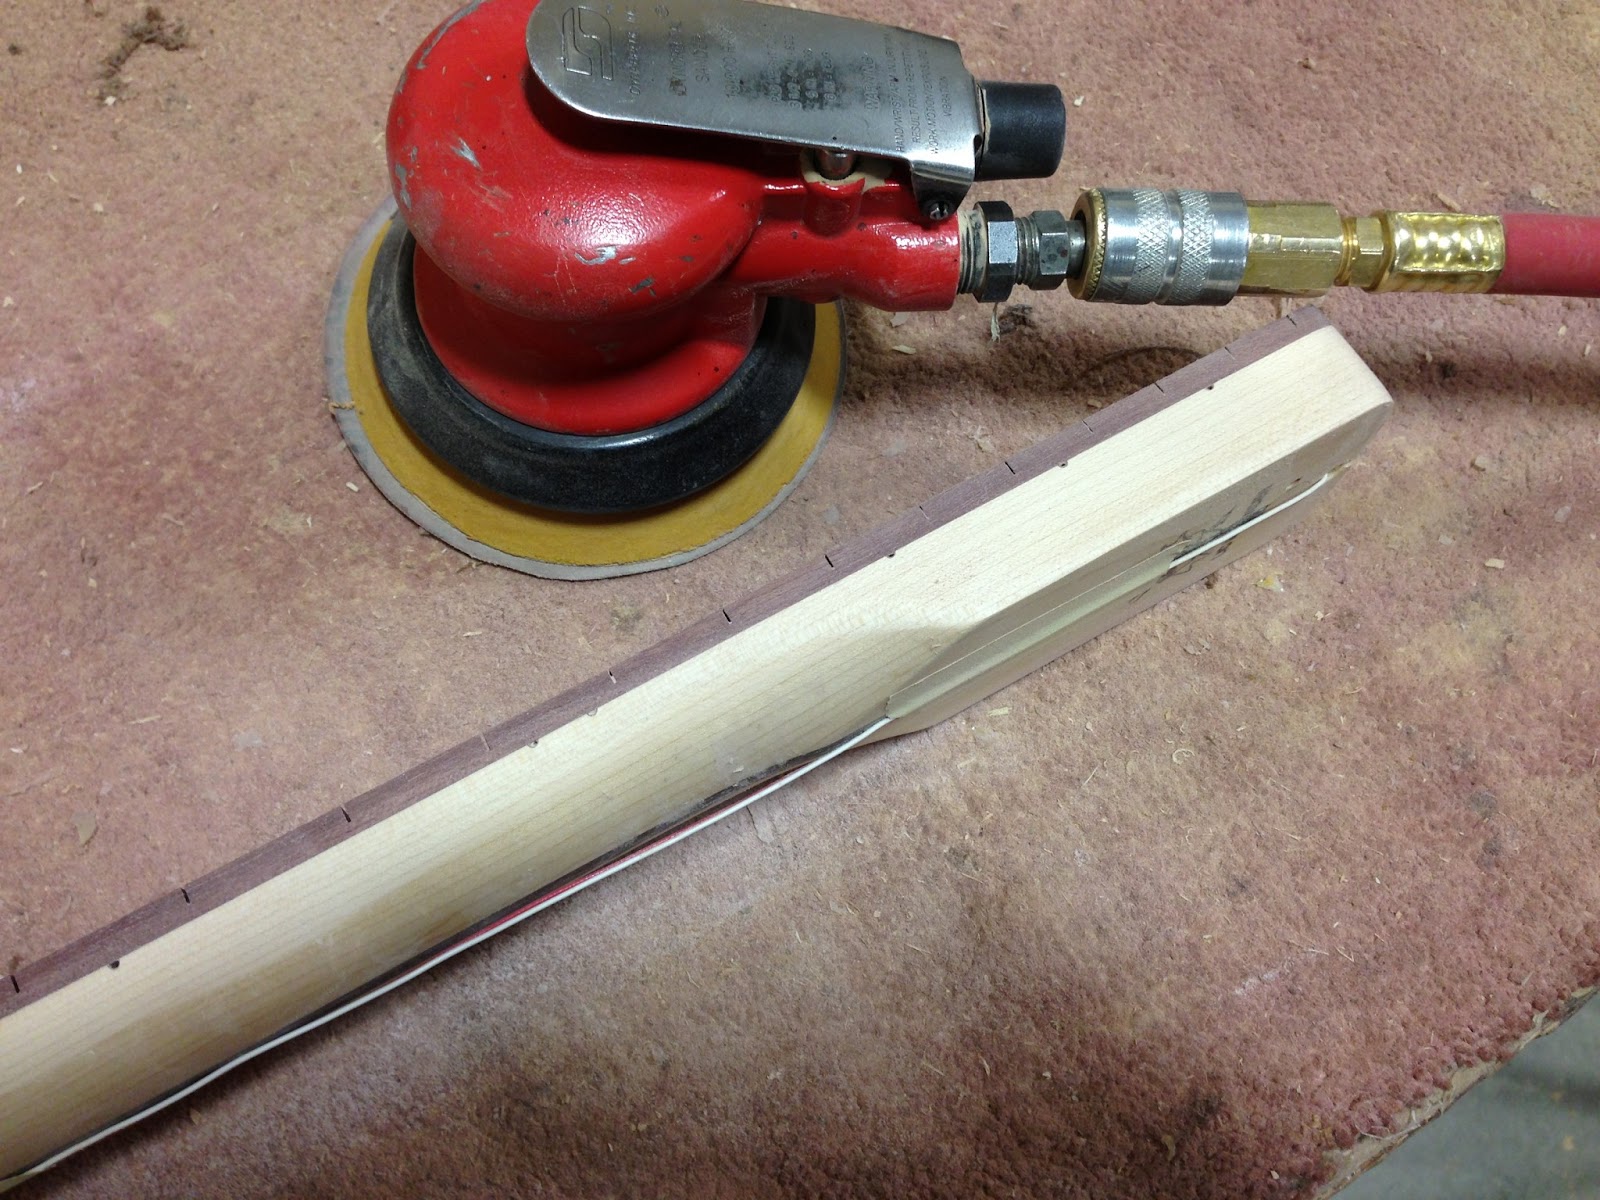
Sanded all flush and smooth.

Cleaned off the top a little bit with the orbital sander.

Now you can clearly see the excess fretboard has all been sanded off.

I sanded the square corner a little bit...

And now it is sanded just like the old fretboard.


Here it is with the perfect radius sanded off.
No comments:
Post a Comment