
Purpleheart LED fretboard
- I drilled 5mm holes for my 5mm Ultra-bright blue LED's.
- I drilled in from the back of those holes with a larger drill bit to accommodate the base of the LED. I drilled this larger hole just deep enough so that the rounded tops of the LED's poke through the top.
- I used a milling machine to cut grooves in the back of the fretboard.
- I twisted the wires together and soldered the connections.
- I sanded the tops off of the LEDs.
- Afterward I put fret wire into the slots, smashing down the copper wires.
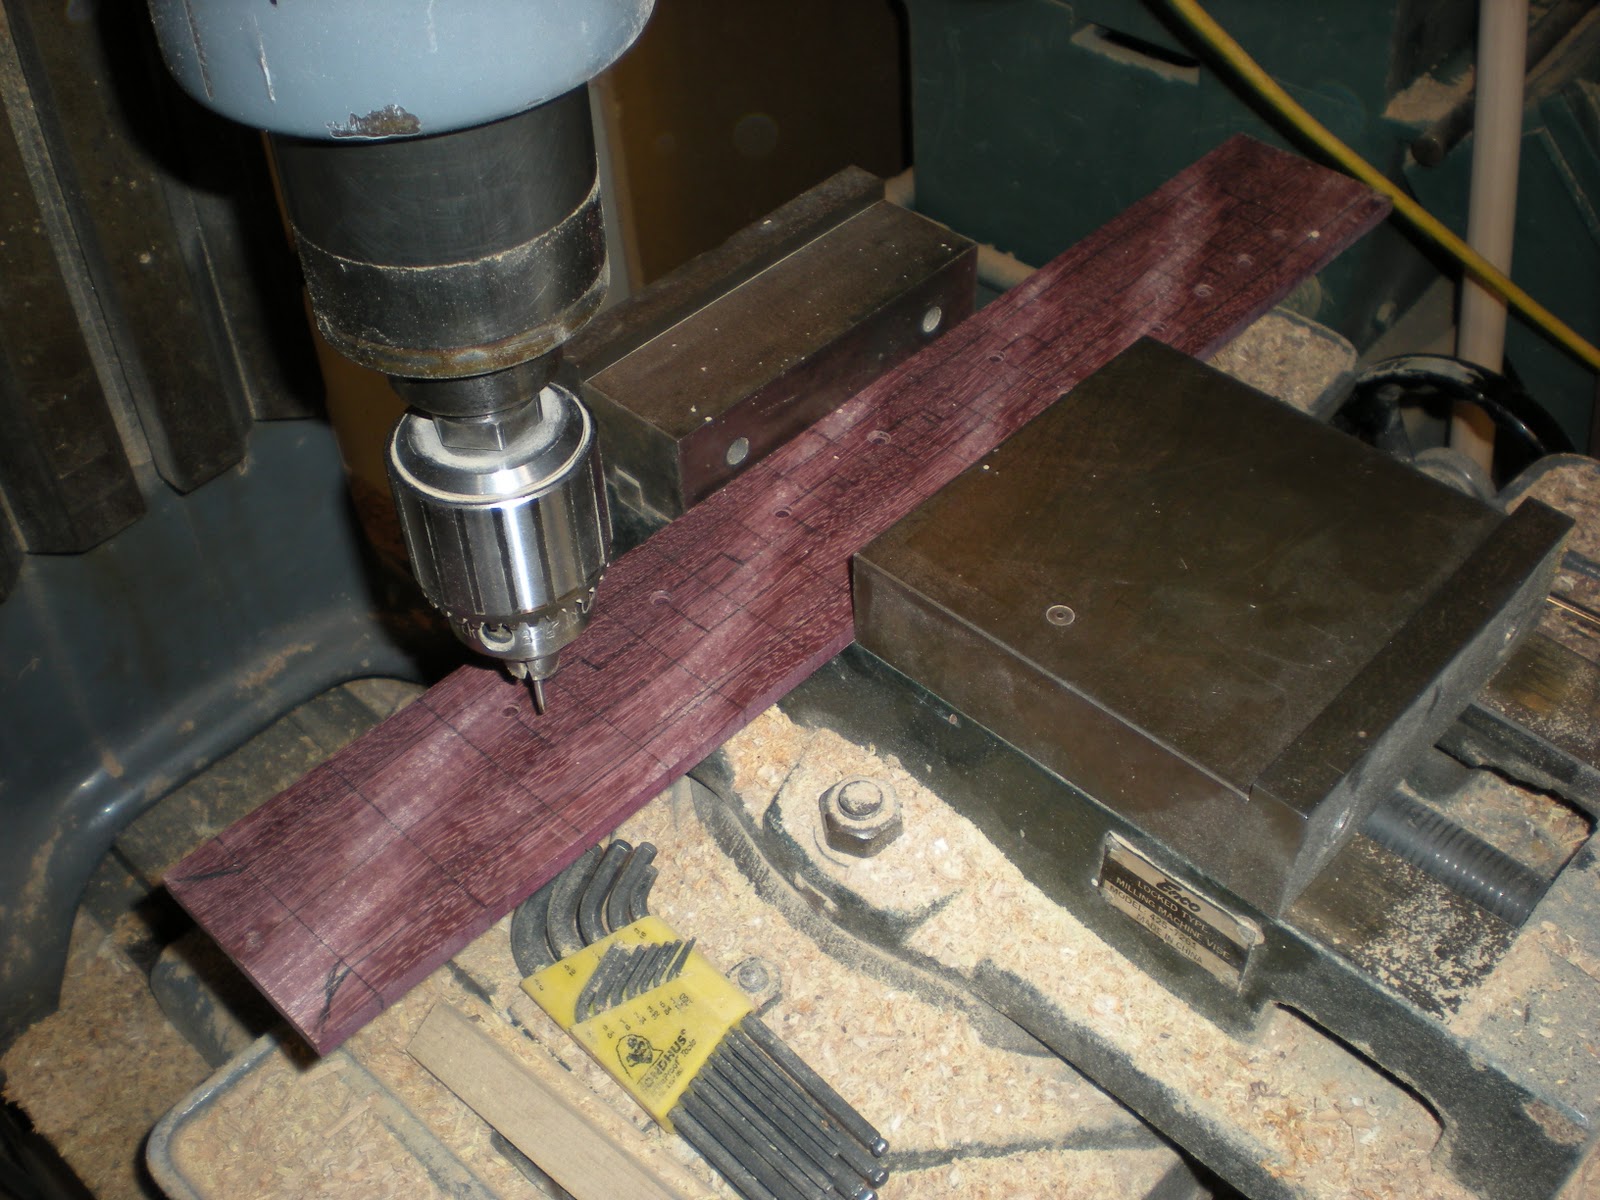
The milling machine, which made my life easier. If my dad didn't own this
wonderful machine, I would have had to use a router or a Dremel tool.

Lines drawn where I wanted grooves or channels cut


Looking kind of fuzzy. Needs some sanding.


Lines drawn where I need to cut off the sides.


Sides cut off; bottom cut off.
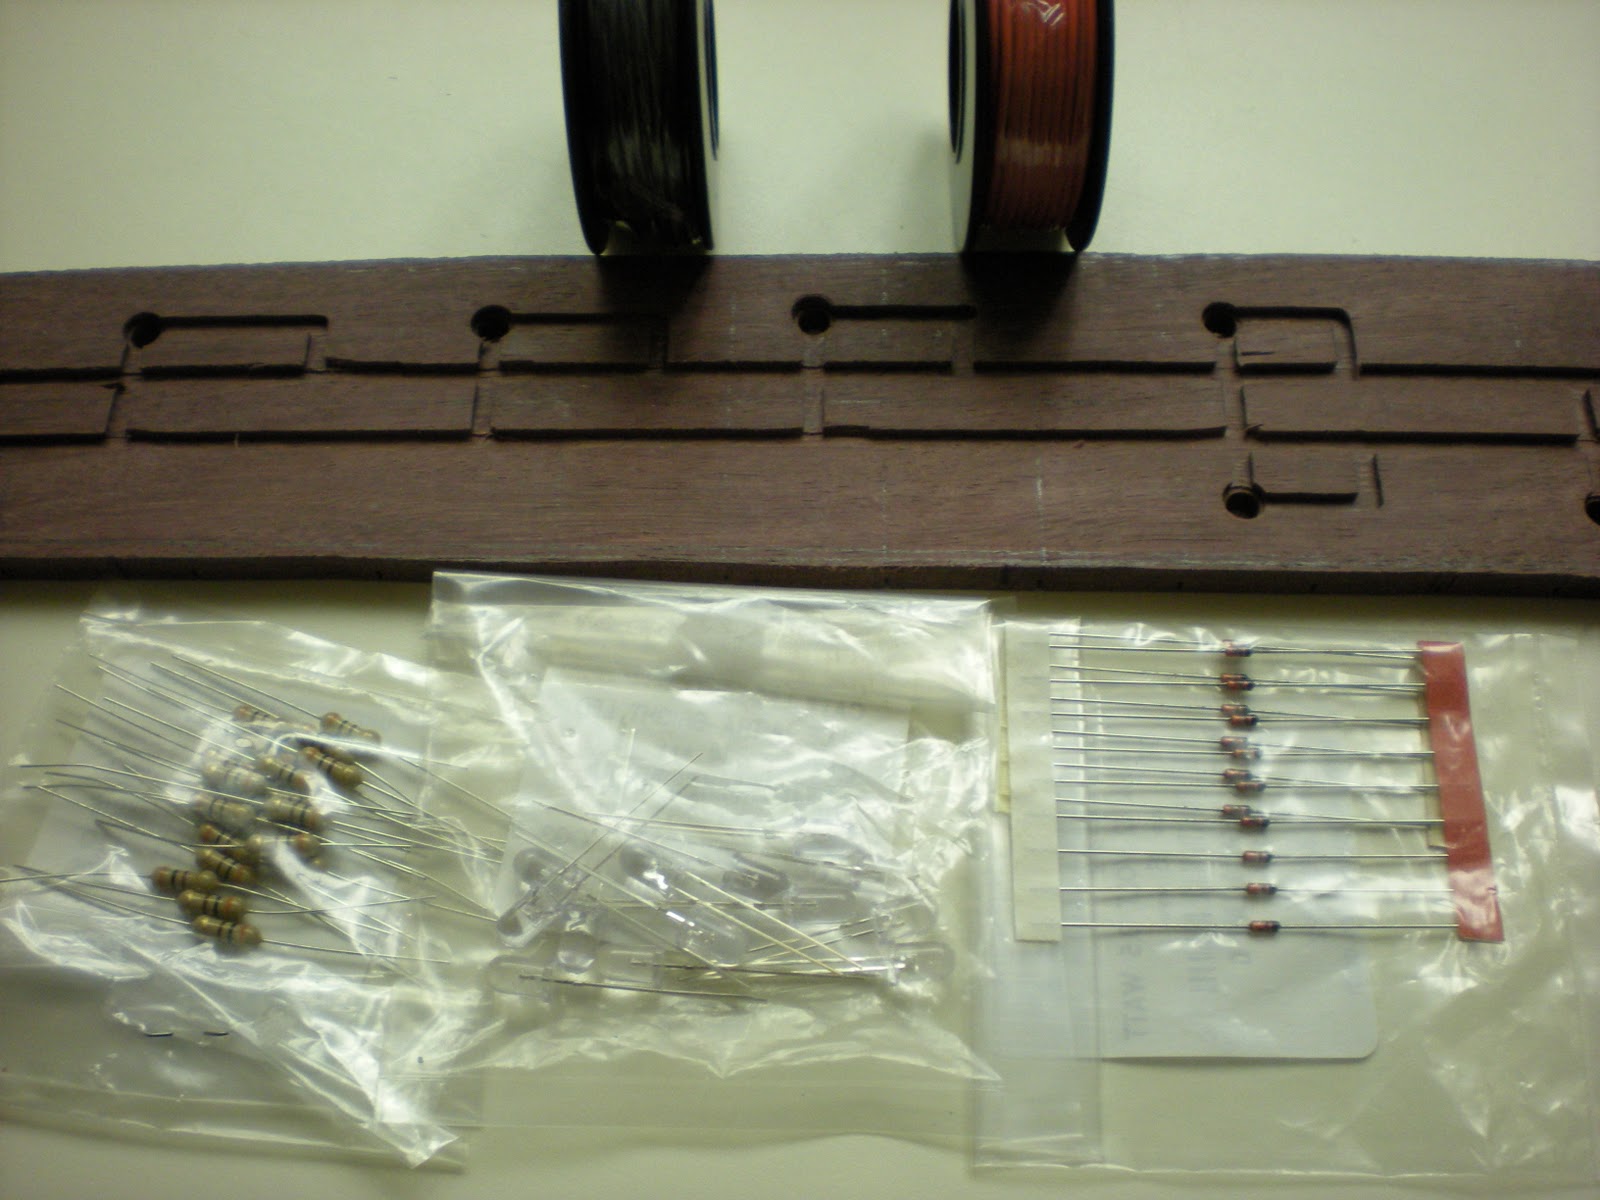
All the components I bought from allelectronics.com.

I followed instructions I found on a YouTube video by a user named koenbus.
I used LED's with a 3.6 V drop, and I used 300 ohm resistors for a
single LED, or 150 ohm resistors for two LED's in a row.


After I soldered the components together with red wires for +9V and black wires for ground

LED's on!!! They're so bright, it almost hurts to look directly at them.

No frets yet, and copper wires poking through tiny little holes.
Later, this allows me to use the frets and the strings together as a switch.
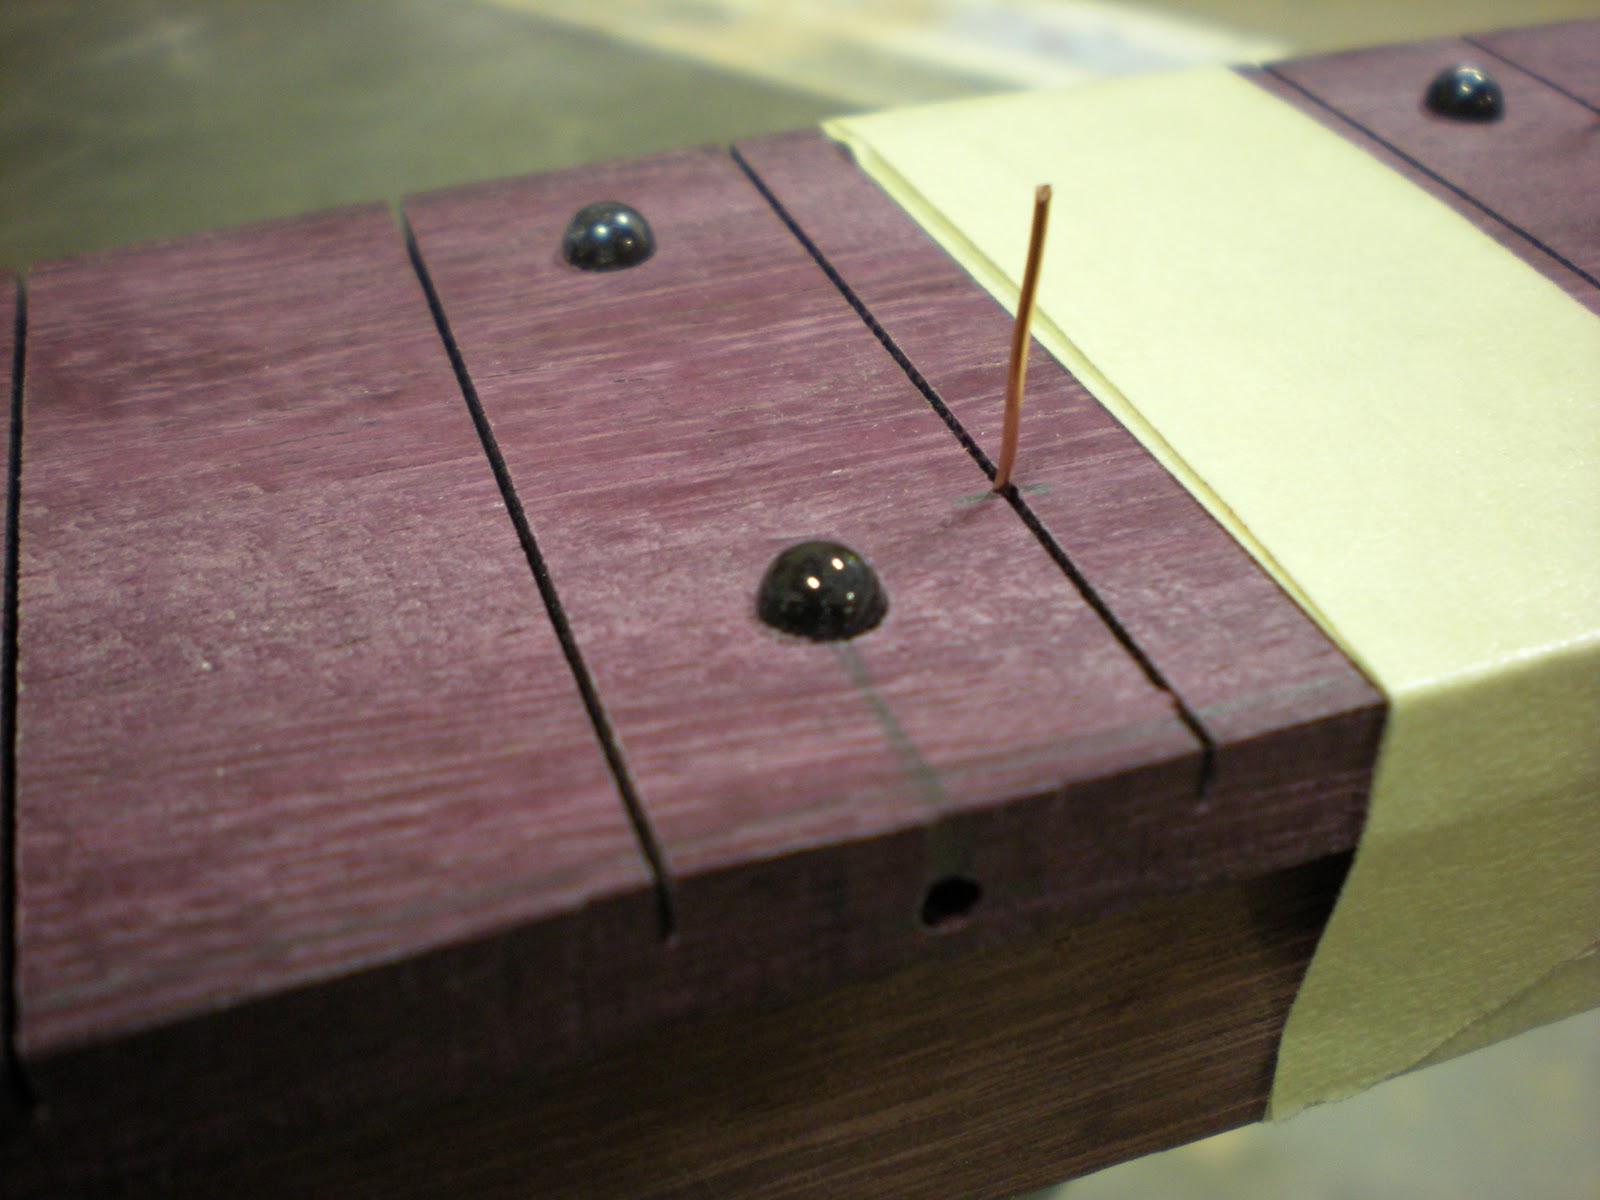
The round part of the LED's are poking through the top...

...and now the rounded tops are being filed down flat.


I apologize for the fuzzy pictures. I am getting better at taking pictures now.
No comments:
Post a Comment